Client Support Portal
Use the Client Support Portal to submit requests to the Client Support Team.

You may want to give additional users access to the support portal.
To register additional users:
-
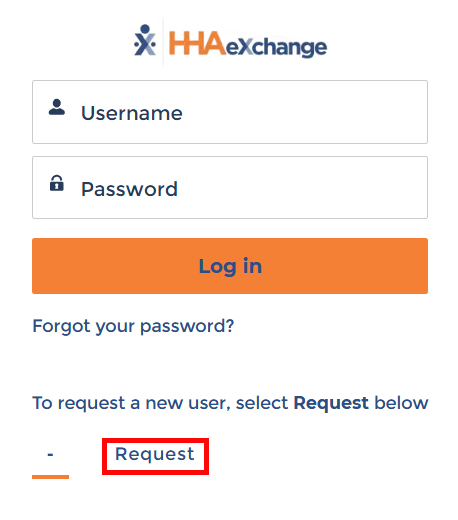
On the login page, click the Request button:
-
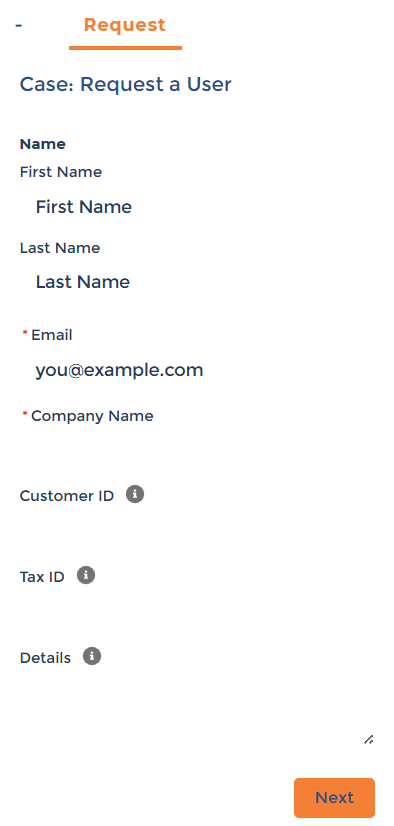
A form opens below the login screen. Fill out the details of the person you would like to register, and then click Next.
-
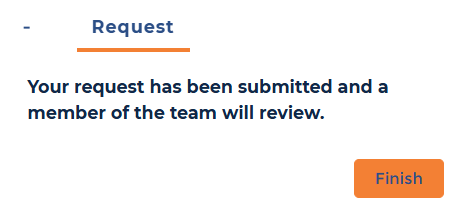
Once your request has gone through, a confirmation screen displays. The support team follows up via email.
- Click Finish. Repeat steps to add additional users.

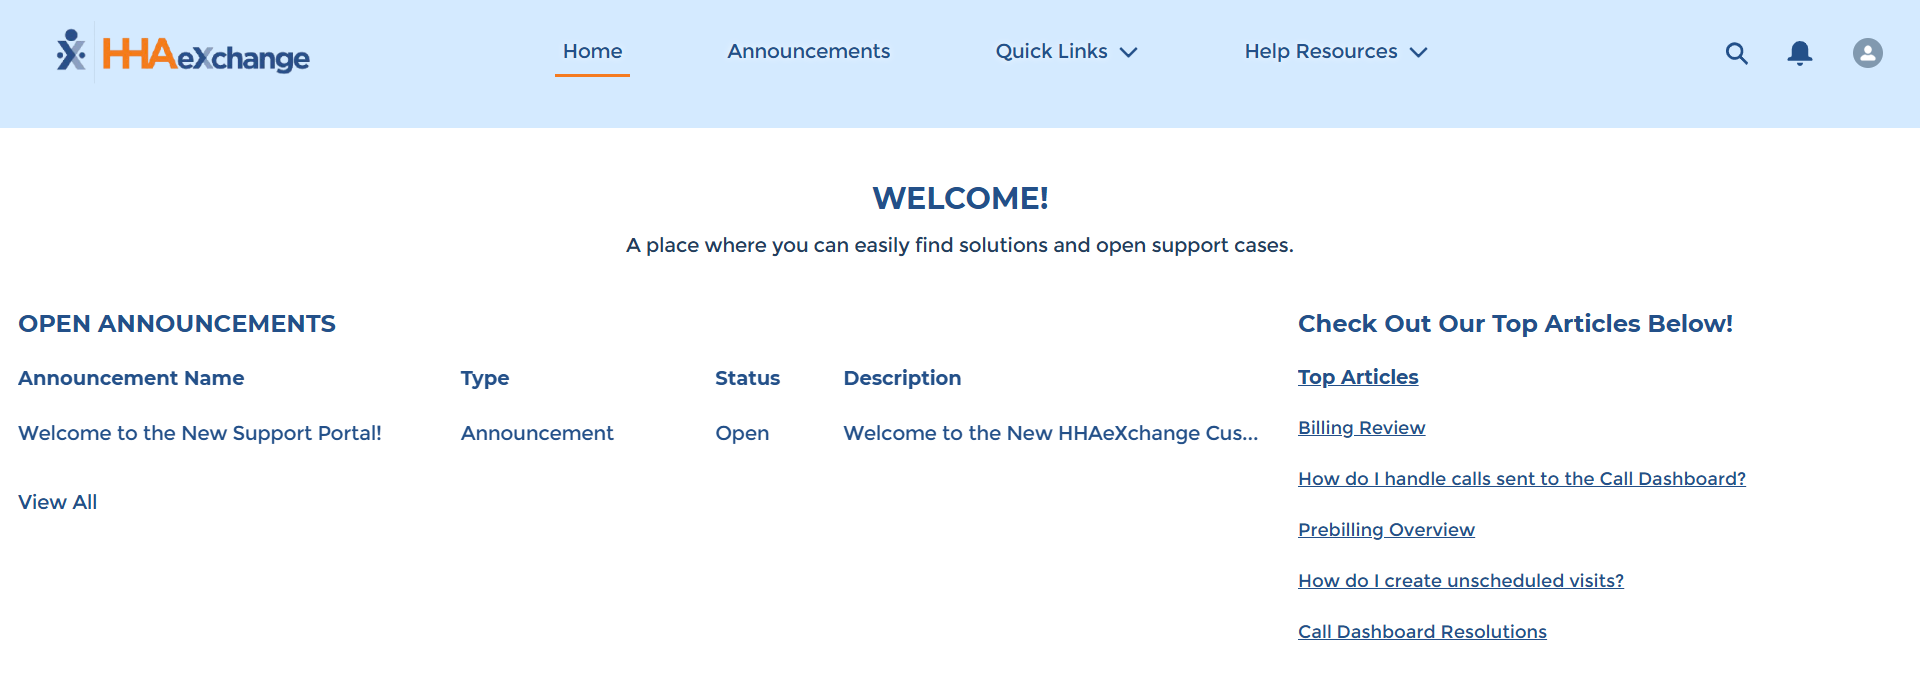
Navigate the Support Portal using the toolbar at the top:
-
Announcements contains important system-wide messages.
-
Quick Links allows you to view your support cases.
-
Help Resources contains links to the Knowledge Base, FAQs, and the ability to open a new support case.
-
The Search icon allows you to search through all elements of the Support Portal.
-
The Bell icon allows you to view notifications specific to your support cases.
-
The Profile icon allows you to view your Profile, adjust your Settings, and Log Out of the Support Portal.

To create a new support request:
-
Open the Support Portal and log in.
-
In the top navigation menu, click the Help Resources dropdown, and then select Get Support.
-
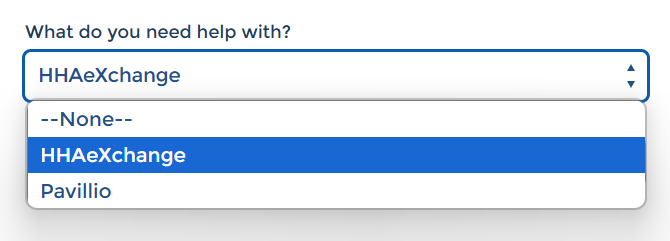
On the following page, select your product from the dropdown, and then click Next.
-
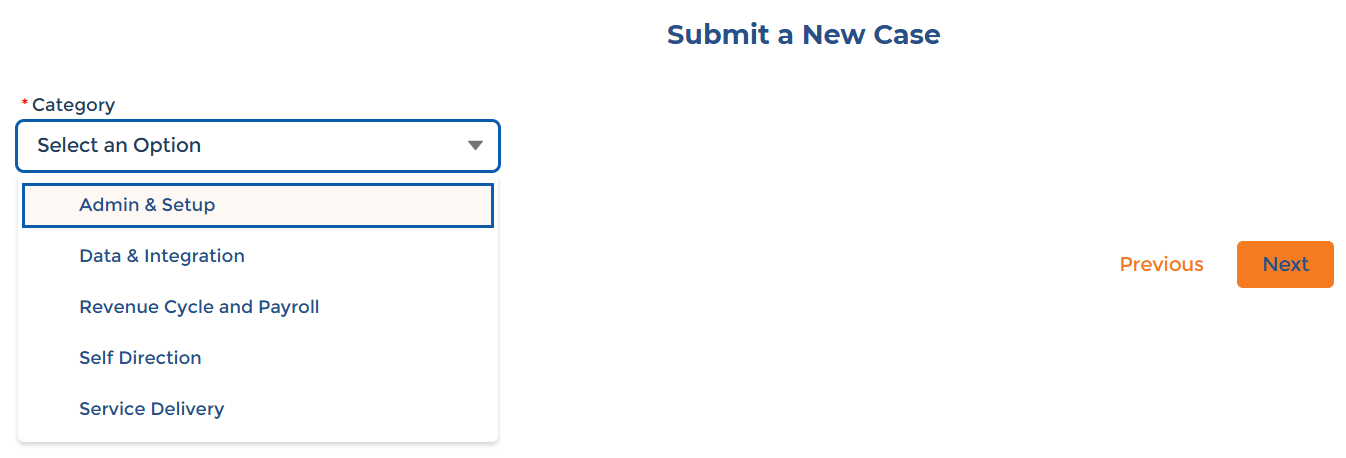
Select the main category of your request, and then click Next.
-
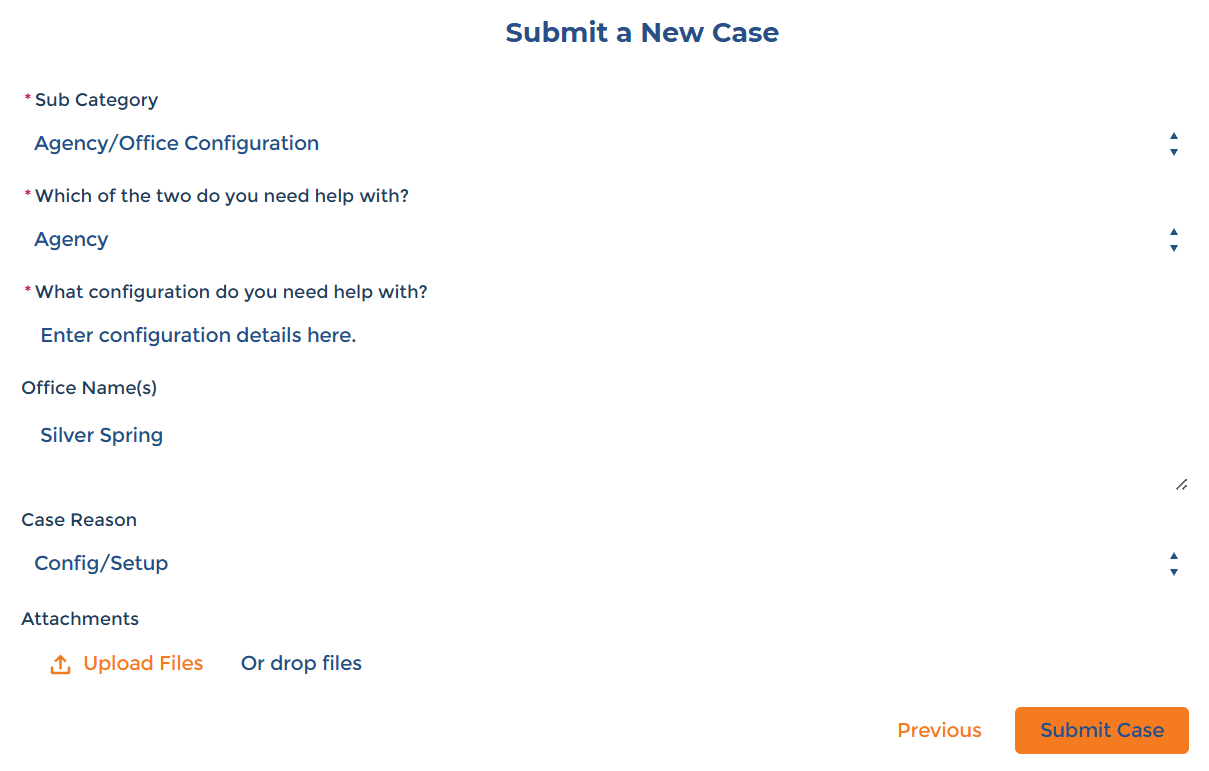
Enter the details of your request. Fields marked with a red asterisk are mandatory. Click Upload Files to attach any relevant files. When finished, click Submit Case.
-
The confirmation screen shows your case is submitted and reviewed shortly by the Support Team. An email is sent to confirm receipt of the ticket.

To view your open support cases:
-
Open the Support Portal and log in.
-
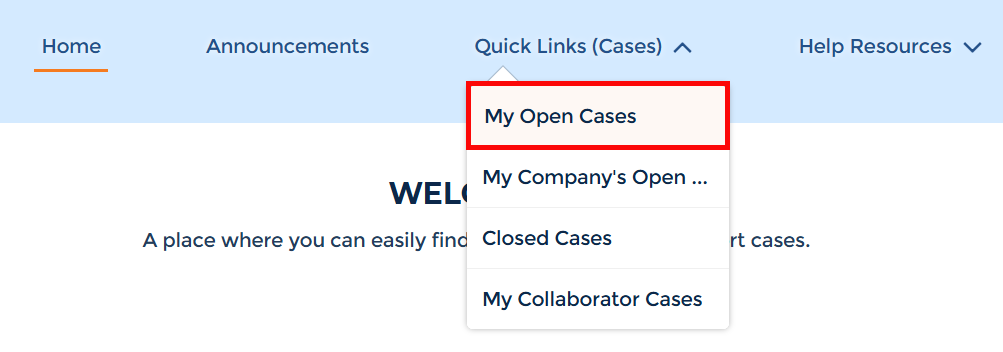
In the top navigation menu, click the Quick Links (Cases) dropdown, and then select My Open Cases.
You can view all open cases for your Agency by selecting My Company's Open Cases, and closed cases by clicking Closed Cases. You can also view cases that someone outside of your organization may need insight into under My Collaborator Cases.
-
On the My Open Cases page, click the Case Number of your request to view more information.
-
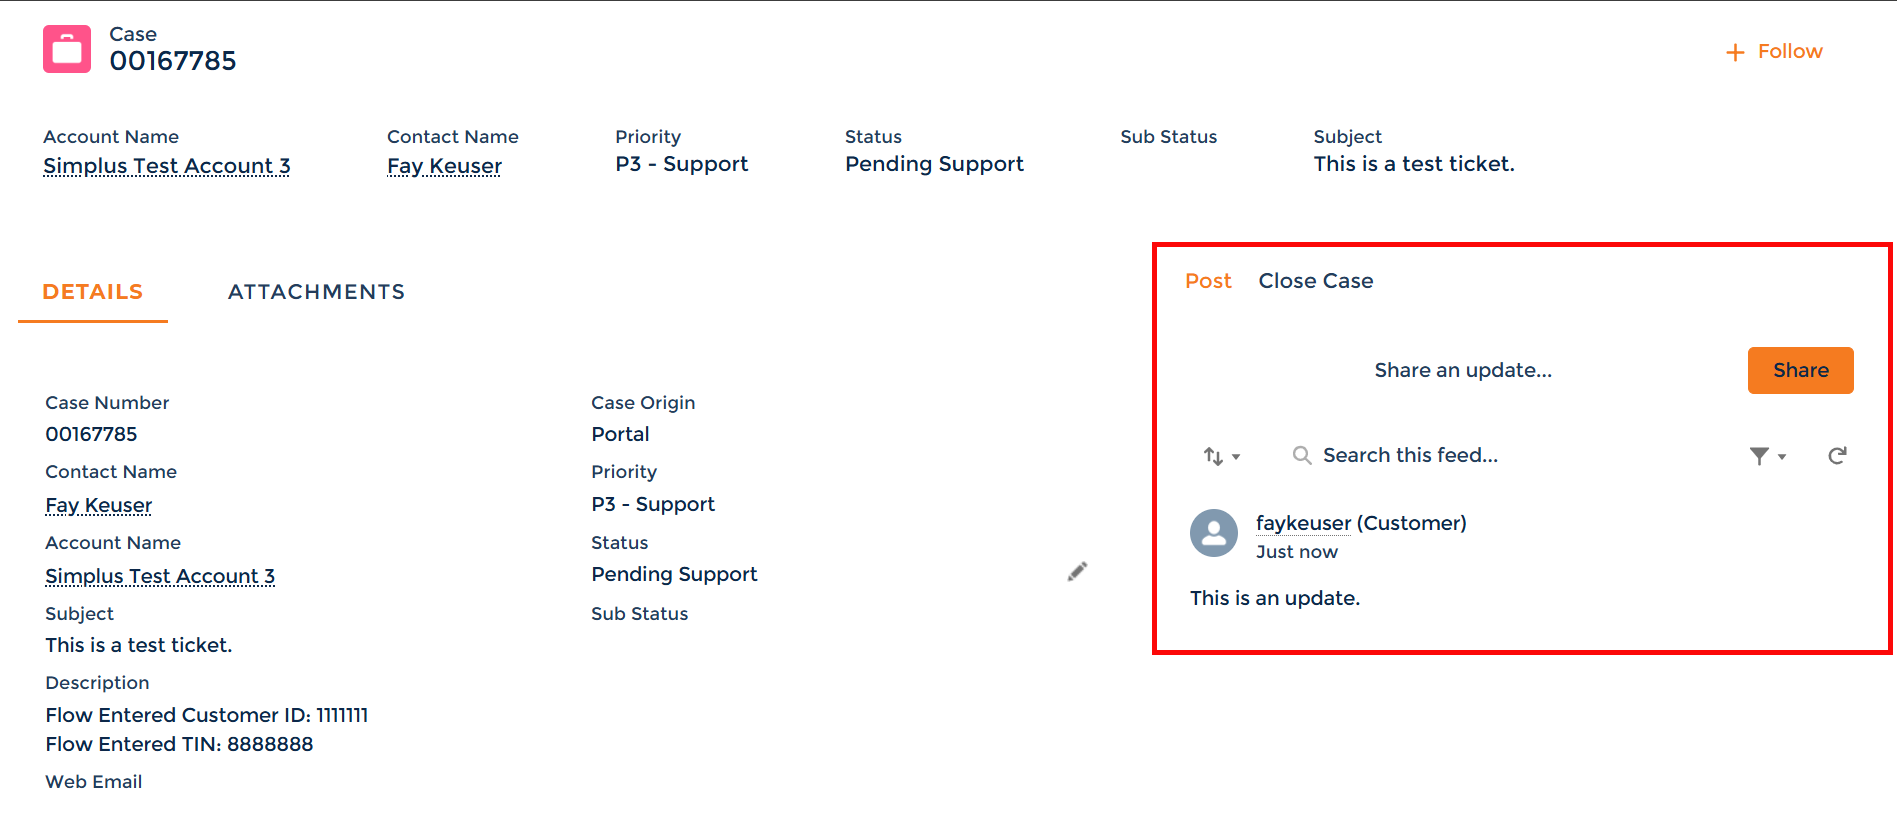
The Case page opens to display the status of your case. To open a communication with the Support Team in the ticket, enter your message in the Share an update area marked below and then click the Share button.
If you no longer need assistance, click Close Case to close the case.
See the following table for an explanation of the Status field:
Status
Status Definition New The case has been created and is awaiting assignment. Assigned The case is assigned to a Technical Customer Care Representative to address. Waiting For Customer The case has been updated and is awaiting a response from you. The case remains in this status for 4 days, and reminders are sent out via email. On the 5th day, the ticket is marked as Resolved. Waiting For
The case is awaiting a response from the entity listed within the Sub Status.
Pending Support You have written an update in the case, and it has been sent to Technical Customer Care for review. Resolved Your request has been addressed to the best extent possible. The case will remain in this status for 3 days before it is automatically closed. An email reminder is sent before the case is closed. If you share any updates during this time, the case returns to Pending Support so further assistance can be provided. Closed This case is now closed and will no longer be addressed by our Technical Customer Care team. If you share an update in this case, a new case will be automatically created. You may also choose to create a new case and reference the closed case for continuity.
Other Resources
