Advanced Payroll View
The Advanced Payroll View page allows you to view and correct payroll errors.
-
Go to Financials > Advanced Payroll View.
-
Select either the Employee or Client tab, depending on what payroll you would like to review.
-
Employee Tab:
-
Select a Service Line or leave as All.
-
Set a Start Date and End Date.
-
The All Employees checkbox is selected by default. If you would like to see results for a specific Employee, uncheck this box and type in the Employee name in the now available Employee text field.
-
Optional: You can filter results by Client Name, Activity Type and Activity.
-
The default output is records that have not been exported. You can change this via the View dropdown.
-
Click the Search button.
-
-
Client Tab:
-
The Service Line available is DSS (Day Support Services).
-
Set a Start Date and End Date.
-
The All Clients checkbox is selected by default. If you would like to see results for a specific Client, uncheck this box and type in the Client name in the now available Client text field.
-
The default output is records that have not been exported. You can change this via the View dropdown.
-
Click the Search button.
-
-
-
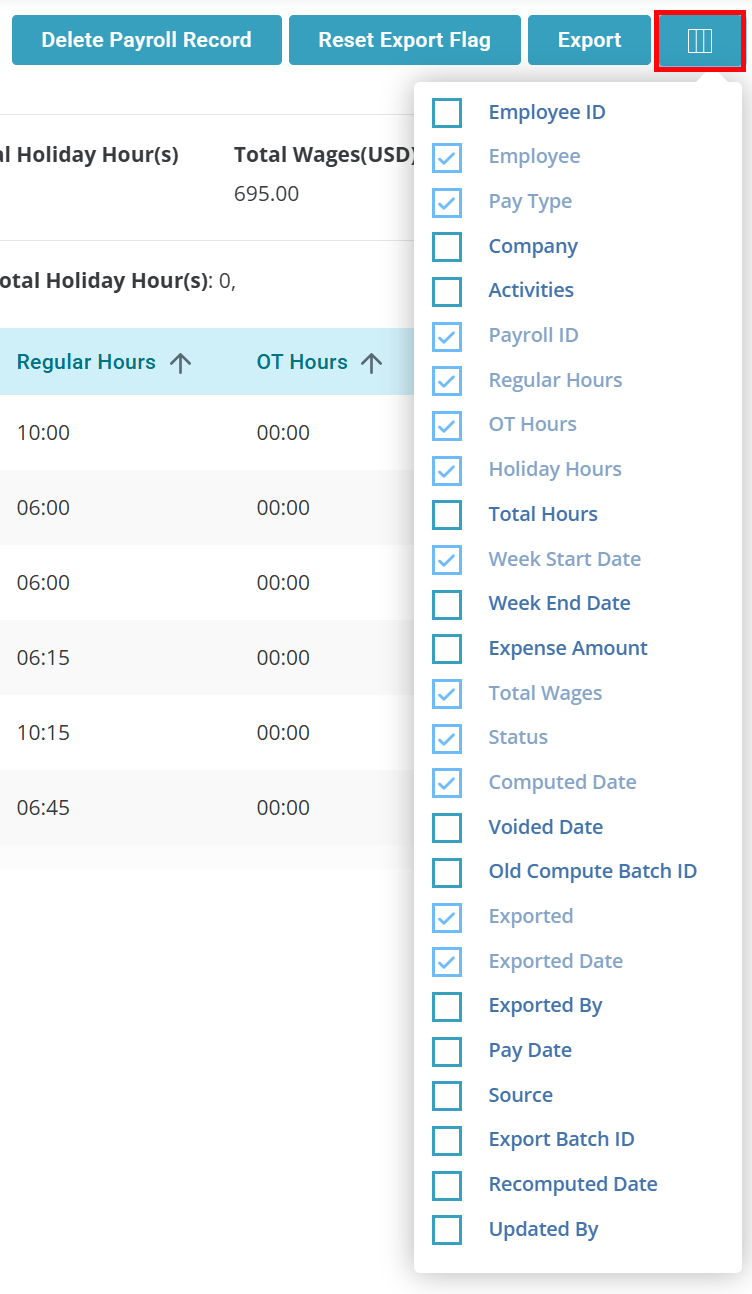
Click the Columns button to add columns to the results table.
-
Click the + sign to the left of the Employee or Client name to see details about the Visit.
-
View the Status column of a record to see if it has been Computed or Not Computed. This helps you see what was previously processed and what is being recomputed to account for Visits that were added or removed from historical pay periods.
-
Records that show a status of Recomputed-New have additional information to show the specific changes to the hours and wages for the pay week.
-
Recomputed batches have a Batch ID for easy tracing.
-
Visits added or removed after the pay week is computed are outlined.
-
-
To make any adjustments to a record, select the checkbox to the left of the Employee or Client name.
-
Click one of the following buttons to adjust the record(s):
-
Delete Payroll Record: This will delete the payroll record, but not the Visit record.
-
Reset Export Flag: This will make the selected record no longer count as exported.
-
Export: This will export the selected record(s).
-

The following instructions are only relevant for Agencies or Services that are configured for Post-Payroll Billing.
After the payroll has been exported:
-
Go to Financials > Advanced Payroll View > Move to Billing.
-
Select the start date of the earliest record on your payroll export.
This may be different from your pay period start date if late timesheets are considered. Select the pay period end date and leave the status as Computed.
-
Review the search results to ensure all expected records are present and select the records (including select all records if there are multiple pages) and click Send to Billing. This ensures only the records generate for payroll go into billing.

